As spring fast approaches, managers and HOA’s are thinking about the painting and repair projects they will undertake this year. Prior to painting any wood areas, it’s important to thoroughly inspect all wood trim, siding, decking, and appurtenant wood structures (i.e. trellises) for dry rot. There are many signs of fully affected or at risk wood members and here are a few.
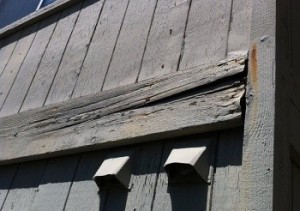
1) Look for wood that is sunken, which can be difficult to see sometimes due to paint. However, often the paint will crack in these areas and dark lines or hollow areas will appear.
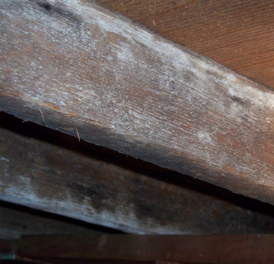
2) Look for affected wood that has flat "skin-like" growth. The skin may have a mushroom-like growth with shades of silver and gray. Check wood for damp and musty odors. Watch for white "cotton ball" growth on the wood.
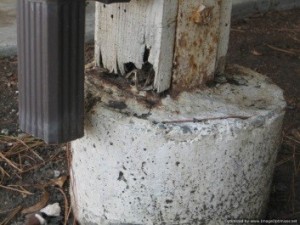
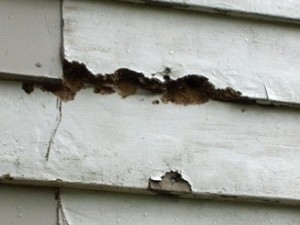
3) Sometimes there is a red colored dust surrounding a dry rot area. If you recognize this dust and/or white “cotton ball” growth, verify dry rot by inserting a screwdriver into the affected area. If it goes through the wood easily, you have may have dry rot. If the wood seems solid and dry, you may not have any major problems with the wood. However if any of the telltale signs are present, it’s important to keep an eye on these areas before a major problem occurs.
Of course once dry rot is identified it should be quickly replaced with new wood so that the full extent of the problem can be identified and the existing dry rot does not become more pervasive. As a reserve study inspector I have seen many projects whereby dry rot has been painted over, only masking the problem and deferring more expensive (and extensive) repairs for later. It is recommended that managers take an aggressive approach when dealing with dry rot on their associations.